
Home compound support
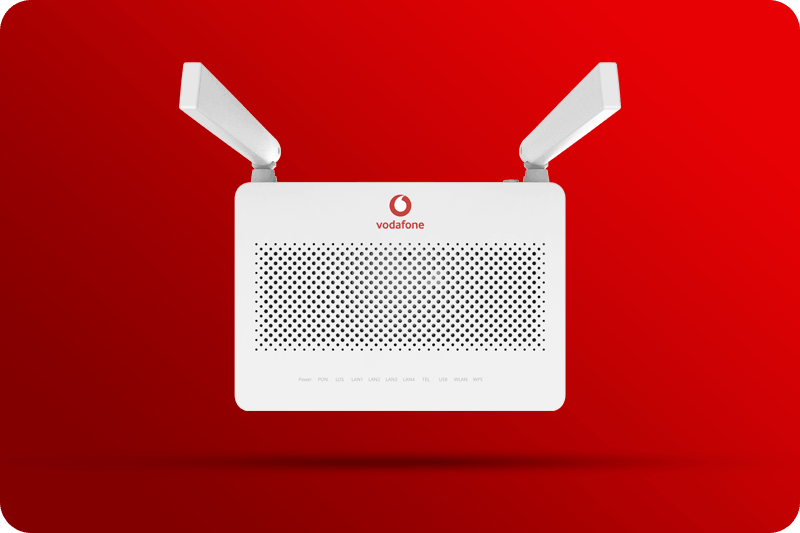
Key ports:
- Fiber Port
- 4x Giga-Ethernet LAN Ports (For Internet, IPTV and Super Wi-Fi via cable)
- 1x Telephone Ports (2 Ports for Model: HG8245W5-6T)
- Wi-Fi 5 Dual-Band (2.4 GHz & 5 GHz)
- 1x USB Port
Buttons:
- Power ON/OFF hardware button
- WLAN ON/OFF button
- WPS button (For Super Wi-Fi and Wi-Fi pairing)
- Reset button (Long press for factory restore)
Where to Place Your Router
- Place indoors only — never outdoors or in outdoor cabinets
- Can be placed on a desk or mounted on a wall (do NOT install on ceiling).
- Keep at least 10 cm clearance around for ventilation.
- Avoid placing near strong magnetic devices (e.g., microwave ovens).

How to Mount the Router on a Wall:
- Mark two spots on the wall matching the router mounting holes.
- Drill holes with proper size drill bit and install expansion bolts.
- Insert screws into bolts, leaving 5mm from wall.
- Hang the router securely onto the screws.

How to Connect to Your Wi-Fi Network Manually
- Open your mobile Wi-Fi settings.
- Find and select the Wi-Fi name (SSID) shown on your router’s label.
- Enter the password (WLAN Key) from the same label.
- Make sure you connect to the Wi-Fi name on the label.
How to Connect to Your Wi-Fi via Wi-Fi QR code
- Open your mobile camera
- Scan the QR on your router’s label.
- The mobile will automatically connect to the Wi-Fi

How to Log In to Your Router Management Page
- Ensure your phone or computer is connected to the router's Wi-Fi network.
- Open Browser: Launch any web browser (e.g., Chrome or Safari) on your device.
- Go to URL: Type 192.168.1.1 into the address bar at the very top and press Enter.
- Enter the login credentials found on the router's back nameplate label.
- Log In: Click the "Log In" button to access your configuration dashboard.
How to Change Your Wi-Fi Name & Password
- Ensure that you have passed the login page and are on the main dashboard.
- Click on the "Wi-Fi configuration Icon" located on the top right side of the page.
- Enter your new Wi-Fi name (SSID) and password for the 2.4G network.
- Enter your new Wi-Fi name (SSID) and password for the 5G network.
- Click “Save” to apply the changes.
How to Change Your Router Login Password
- Ensure that you have passed the login page and are on the main dashboard.
- Click on the " Router button on the left of the USB Icon".
- Enter your current password.
- Type in your new password.
- Confirm the new password.
- Click “Save” to apply the changes.
What is MAC Filtering?
It's a security feature that lets you control which devices can connect to your Wi-Fi by their unique identifiers (MAC addresses). You can use it to block specific unauthorized devices or create a strict access list.
- Ensure that you have passed the login page and are on the main dashboard.
- Click on the "Wi-Fi Devices icon" to see a list of connected devices.
- Click on "Application" for the device you need to restrict.
- Choose the device you want to block from the dropdown list.
- Select "MAC Filter" then ensure that it is enabled and the mode is set to blacklist.
- Choose the device you want to block from the dropdown list.
- Click “Apply” to save your changes.
What is Parental Control?
It is a security feature that allows you to manage internet access on your network by setting time limits, blocking specific websites, and controlling which devices can connect during certain hours.
- Ensure that you have passed the login page and are on the main dashboard.
- Navigate to Advanced > Security > Parental Control.
- Click on “Template”, then “New”.
- Enter a name for the template (e.g., "Children's Devices").
- Click “Next”, then “New” to set the time restrictions.
- Set the start and end times for internet access.
- Select the days this rule applies.
- Check both boxes to apply the rule all day, every day.
- Click “Apply”, then “Next”.
- Enable website filtering to block or allow specific websites.
- Click “New” and choose the filtering mode:
- Blacklist to block specific websites
- Whitelist to allow only specified websites.
- Enter the website URLs you want to block or allow.
- Click “Apply”, then “Finish”.
- Go to overview and click “New”.
- Select the devices to apply this template.
- Choose the template you created.
- Click “Apply”.
- Repeat steps 14–17 for other devices as needed.
LED indicators:

Power light:
- On (Green): The router is powered and working.
- Off: No power — check if the power adapter is plugged in properly.
PON LED
- On (Green): The router is connected to the Vodafone network.
- Off: No network signal detected — check the fiber cable is plugged in or contact support (call 2828 or WhatsApp 01070000000).
LOS LED
- Off: Good — means the fiber cable signal is normal.
- On: Problem with fiber connection — check the cable or contact support.
LAN LED
- On (Green): Ethernet cable is plugged in and working.
- Blinking: Data is being sent or received.
- Off: No cable connected.
TEL LED
- On (Green): Phone service is ready.
- Blinking slowly: Phone service is temporarily unavailable.
- Off: Phone service is off.
- If not green, contact support.
WLAN LED
- On (Green): Wi-Fi is turned on.
- Blinking: Data is being sent or received over Wi-Fi.
- Off: Wi-Fi is turned off.
WPS LED
- On (Green): WPS (Super Wi-Fi pairing) is active.
- Blinking: A device is connecting via WPS.
- Off: WPS is off.
- To activate WPS, press and hold the WLAN/WPS button for more than 3 seconds.
*If you’re still having issues, don’t hesitate to call Vodafone support at 2828, or send a WhatsApp message to 01070000000.
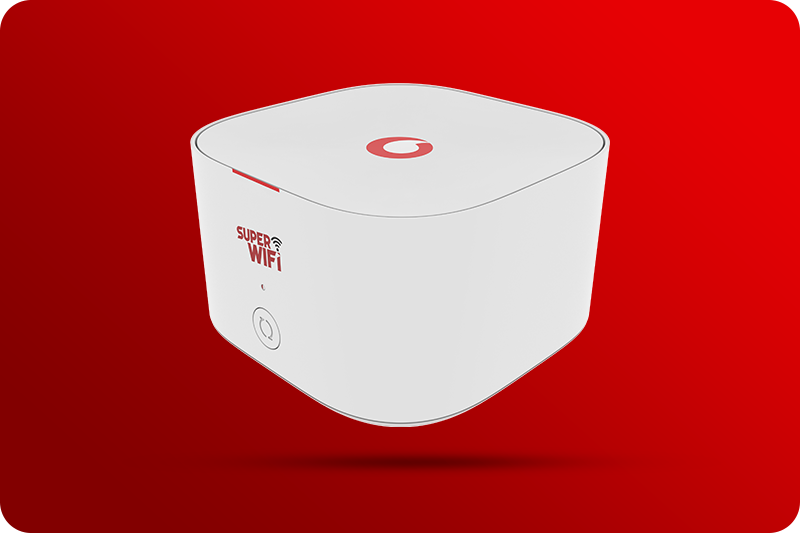
Key ports:
- 3x Giga-Ethernet WAN/LAN Ports
- Wi-Fi 5 Dual Band (2.4 GHz & 5 GHz)
- Wi-Fi or Cable Uplink synchronization
Interfaces & Buttons:
- WPS and Pairing button
- Reset Button
- LED Indicator
Step 1: Power on the Super Wi-Fi device beside the ONT/Router
- Connect the power adapter to the Super Wi-Fi product positioned beside the ONT/Router.
- Wait until the WPS LED on the ONT/Router begins flashing green
Step 2: Pairing Super Wi-Fi with the ONT/Router
- Short press the ONT/Router’s WPS button, wait until the WPS LED is solid green.
- Wait until the Super Wi-Fi LED turns solid white.
Step 3: Relocate the Super Wi-Fi and follow the below guidelines
- The Super Wi-Fi should be away from the microwave, cordless telephone, and metal objects.
- Ensure that the Super Wi-Fi is placed no more than 7-8 meters away from the router.
- Make sure there is only one wall and minimal obstacles between the ONT/Router and Super Wi-Fi.
- The Super Wi-Fi’s height should be 1.2 m - 1.5 m from the ground.
Step 4: Use LinkHome Application for Wi-Fi management
- Download and install LinkHome application
- Ensure that your mobile is connected to Wi-Fi
- Open the LinkHome application and Enjoy using App to control and manage your Wi-Fi.
LED Indicators:
- Steady White: Super Wi-Fi is working and Internet is available.
- Steady Red: Super Wi-Fi is not connected to the ONT/Router or Internet access is unavailable.
- Blinking Red Slowly: The Super Wi-Fi detected the ONT/Router that can be paired.
- Blinking Red Quickly: The Super Wi-Fi is performing the pairing process with ONT/Router.